French
Why clarified butter is so tasty (and how to make your own)
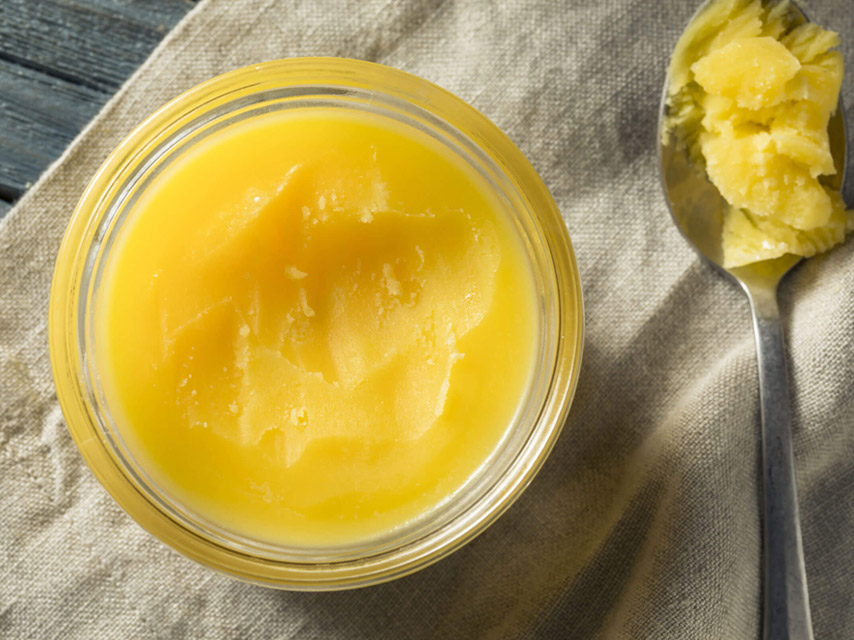
Ghee and clarified butter are a secret ingredient. They’re butter, but better. They’re richer, stronger, more condensed versions of butter. They’re like butter squared.
Ghee and clarified butter are very similar, but the way ghee is made generally produces a richer taste. Both are made by cooking butter and removing the milk solids and water, leaving only the pure butter fat. Ghee goes one step further, lightly cooking the pure butter to achieve a deeper, nuttier flavor.
Ghee is a staple in Indian cooking and baking, and also shows up in some Middle Eastern foods. If you’ve ever had a curry or stew from an Indian restaurant—such as biryani—there’s a good chance ghee was involved. It’s brushed atop roti and chapati breads (and sometimes naan).
Clarified butter and ghee shouldn’t be restricted to home biryani, though. Being more delicious than typical butter, they can and should be used wherever you use butter: for tempering spices and onions in curry, yes, but also in butter-based sauces, frying eggs, sautéing vegetables, and making grilled-cheese sandwiches. By removing the milk solids, ghee/clarified butter have a higher smoke point than average butter, which means you can use it to cook things at a higher temperature where normal butter would burn. If you’re making a recipe that calls for, say, coconut oil, you can use clarified butter instead. Steak, too, is delicious cooked in a skillet with clarified butter.
How to make clarified butter
- Place unsalted butter in a thick-bottomed pot over low heat. Let it sit, without stirring. It should liquify and slowly bubble as the milk fat creates a foam. This step can take a while—expect to spend around half an hour slowly melting the butter and letting the foam rise to the top. You’ll also see the milk fats sink to the bottom.
- Using a large metal spoon, carefully remove the foam that floats at the top of the pot.
- Once all foam is removed, take the pot off the heat.
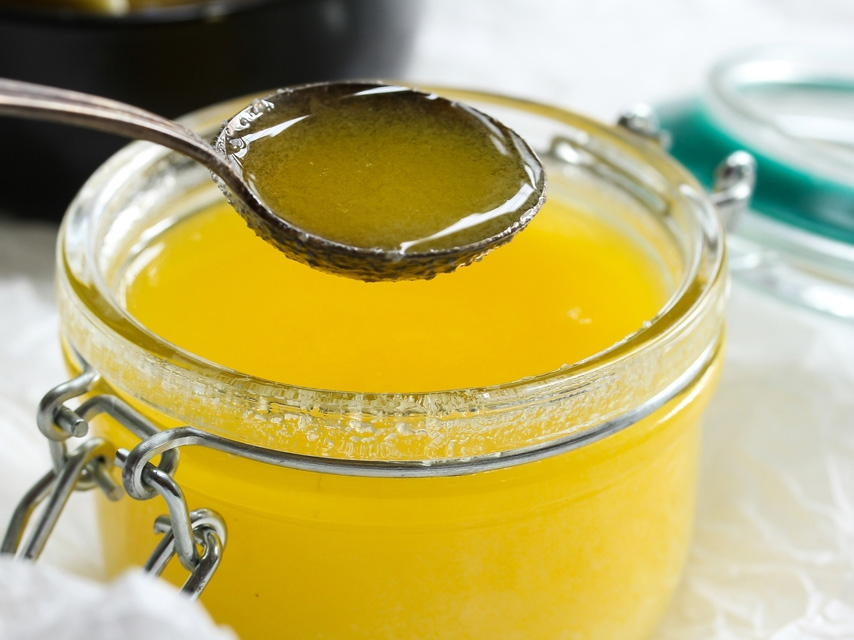
- After about five minutes, when the butter is still liquid and warm but slightly cooled, carefully pour off the golden butter in the pot. The bottom of the pot will have more of the light-colored milk fats; don’t pour those out.
- Optional: Use a cheesecloth (or coffee filter) to get rid of the bits of milk solids that snuck in. Line a strainer with two layers of cheesecloth and pour the butter through. (If you’re a purist and want your butter 100 percent clarified, this is the way to go.)
How to make ghee
- Like clarified butter, melt unsalted butter in a sturdy pot over low heat.
- When the butter liquifies, turn the heat up to medium.
- Skim the foam off the top, as in clarified butter.
- Turn the heat up a bit more, to a medium-high heat. More foam will form, and the milk solids at the bottom of the pot will brown.
- Skim the secondary foam off the top and remove pot from heat.
- The rest is the same as clarified butter: When the butter is still liquid and warm but slightly cooled, carefully pour off the golden butter in the pot. The bottom of the pot will have more of the brown-colored milk fats; don’t pour those out.
- Use a cheesecloth (or coffee filter) to get rid of the bits of milk solids that snuck in. Line a strainer with two layers of cheesecloth and pour the butter through.
Helpful pointers
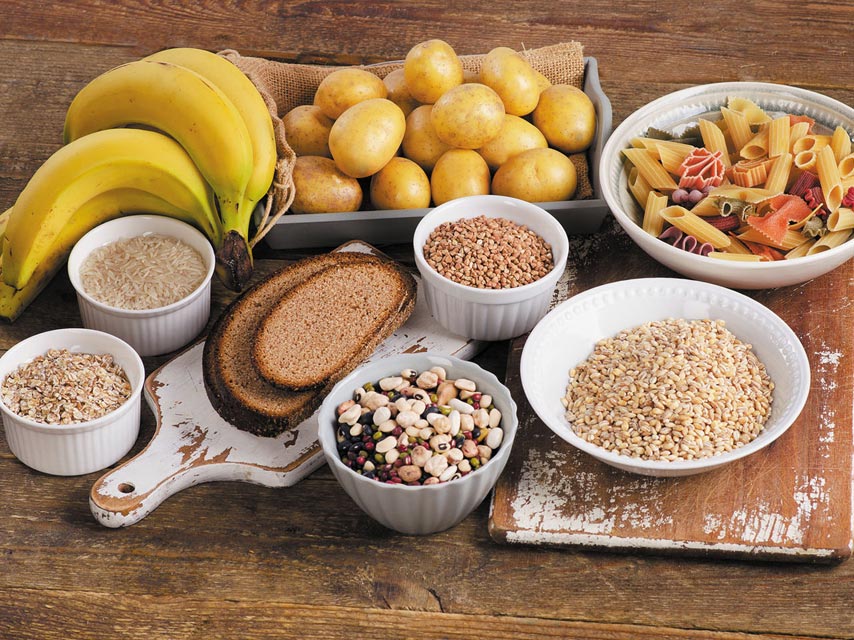
- You can use ghee and clarified butter in baking, but you take a risk substituting it in a recipe that calls for typical butter. Plenty of baking recipes specifically using ghee can be found online.
- You lose about a quarter cup in the clarifying process, so keep in mind that starting with one cup of butter will result in roughly three-quarters of a cup of clarified butter.
- Use unsalted butter. Like the butter flavor, the salt content will also be stronger in clarified butter.
- A large metal spoon with a sharp, fine edge makes skimming the foam off the top easier than a wooden spoon. Thick, rounded edges make for more of a challenge.
- Using a thin-bottomed pot could result in the butter burning. You obviously don’t want that to happen. If you notice the bottom browning, turn the heat down.
- Clarified butter and ghee last much longer than normal butter, since you’re essentially removing the parts that go bad. They don’t have to be kept in the refrigerator like normal butter, as long as they’re kept in an airtight container. For what it’s worth, the chef I worked with, who taught me how to make clarified butter, did keep his container in the fridge overnight. It turns very solid; to heat it back into a liquid state, he left it on the warm range and kept it there all day, ready to be used whenever food was to be sautéed or fried.
Source: The Takeout
You may also like


Comments
Achard Legumes (Pickled Vegetables)
March 04, 2021
The Miracle Plant - Benefits of Aloe Vera Juice
February 16, 2021
The Keto Diet
February 04, 2021
Poisson Salé (Snoek fish) - The Authentic Mauritian Food
January 18, 2021
Alouda - The Mauritian Milkshake
January 07, 2021